DIY Chunky Knit Blanket: Beginner Tutorial with No-Sew Option
Learn how to make a chunky knit blanket as a beginner, from choosing jumbo yarn to a no-sew hand-knit method, seaming panels, and finishing it neatly.
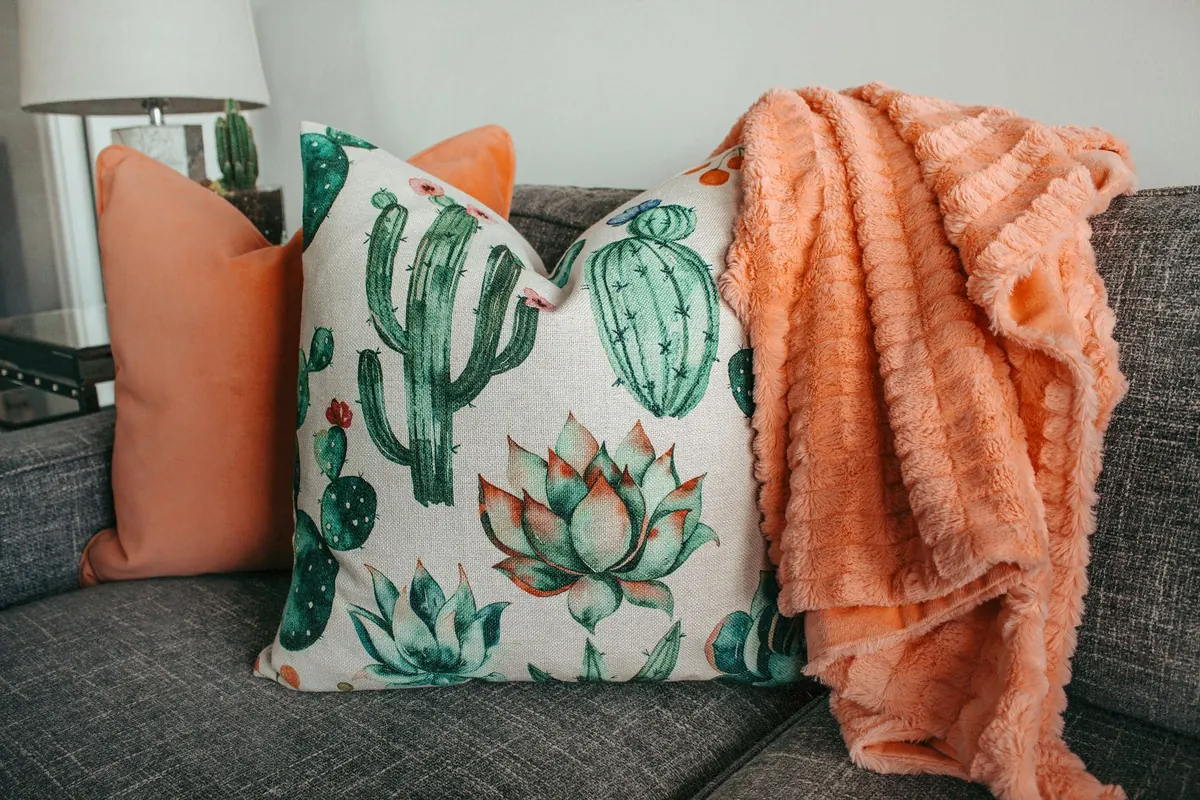
A chunky knit blanket does two jobs at once. It makes a plain sofa look deliberate, and it turns a cold evening into a plan. The blankets selling for a small fortune in home shops are built on one simple stitch that you can learn in an afternoon, because jumbo yarn does most of the work for you. The stitches are so large that the blanket grows an inch or two per row, and mistakes are easy to see and even easier to fix.
There are two routes worth knowing. The first uses your hands instead of needles, which means no sewing at all. The second uses oversized needles and a seam, which gives you more control over the finished shape. Both begin with the same decision: the yarn.
Choose Yarn You'll Actually Enjoy Working With
Most chunky blanket yarn falls into three families, and they behave very differently in your hands.
- Roving (unspun wool) is the classic look on social media. It's gorgeous and slightly high-maintenance: it pills, it sheds, and it doesn't enjoy being ripped out and reworked. Best for blankets that are admired more than used.
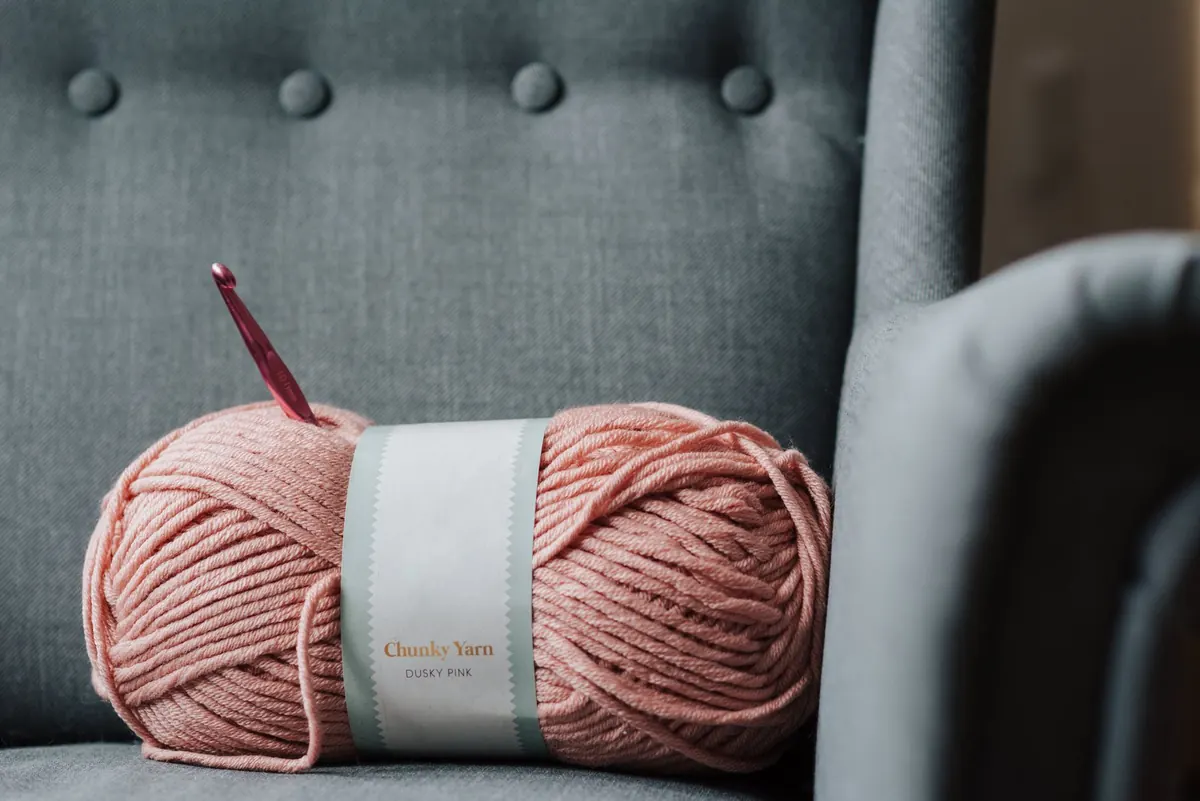
- Chenille is the velvety, tube-like yarn sold in big cakes. It's soft, forgiving, and hides uneven tension well. It can shed for the first week or two, and it shows stains, so treat it gently.
- Super-bulky plied yarn (acrylic, wool, or a blend) holds up best for a blanket that gets sat on daily. Less fluffy, more durable, and usually the easiest to unravel when you make a mistake.
Squeeze the skein before you buy. If it feels scratchy against your neck, it will feel scratchy against your face. Read the label for the recommended needle size and the care instructions, then buy every skein you need in one go, in the same dye lot. Chunky yarn shades can vary noticeably between batches, and a blanket made from two dye lots shows the seam even in good light.
Tools and Materials at a Glance
- Enough jumbo yarn for your chosen size, plus one spare skein
- A pair of 25 mm (US 50) knitting needles or larger, if you're not working by hand
- A large tapestry needle or a big crochet hook for weaving in ends
- Measuring tape and sharp scissors
- Optional: sewing pins, and a second pair of hands for the cast-on
Sizing and How Much Yarn You Need
Decide the finished size before you cast on. A lap blanket around 40 by 50 inches is plenty for one person on a sofa; a throw of roughly 50 by 60 inches covers two. Anything wider than your arm span is awkward to work by hand, so stay within a comfortable reach and add length instead of width.
For a needle-knit blanket, work a small swatch first: cast on ten stitches, knit six rows, and measure how many stitches you get across four inches. Divide your target width by that number and cast on accordingly. For hand knitting you can't swatch easily, so knit three rows, measure the width across your arms, and adjust by adding or removing loops. Buy more yarn than you think you need. Running out two-thirds of the way through a blanket is the most common way these projects stall, especially when the dye lot has sold out.
Option 1: The No-Sew Hand-Knit Blanket
This is the version to try first if you don't own big needles and don't want to sew anything.
- Cast on. Make a slip knot and slide the loop onto your right wrist. Reach your left hand through the loop, grab the working yarn, pull a new loop through, and slide it onto your right wrist. Repeat until you have the width you want. Count the loops out loud so you don't lose your place.
- Knit the first row. Hold the working yarn in your right hand. Reach through the first loop with your left hand, pull a loop of working yarn through it, and place that new loop on your left wrist. Keep the loops spaced evenly along your forearm rather than bunched at the wrist.
- Work every row the same way. When all the loops have moved to your left arm, turn the work so the yarn tail sits behind, and knit them back onto your right arm. Knitting every row produces garter stitch, which lies flat and doesn't curl at the edges.
- Keep going until the length feels right. Rest the work on a table between rows if your arms tire, and knit in short stretches rather than one long marathon.
- Bind off. Knit two loops, then lift the first loop over the second and off your arm. Knit one more and repeat until a single loop remains. Cut the yarn, leaving a long tail, and pull it through that last loop.
Option 2: The Needle-and-Seam Version
Big needles give you a tidier rectangle, and splitting the blanket into panels makes each one light enough to hold on your lap. Knit three panels of equal width in garter stitch, then join them at the end.
Joining panels without a lumpy seam
Put the two panels right sides together and pin along the edge. Thread your tapestry needle with the same yarn, but split the strand and use only half the plies. A full thickness of jumbo yarn makes a ridge you can feel through the blanket; a thinner strand disappears. Work a mattress stitch, catching one stitch in from each edge, and pull the yarn snug every few inches. When you open the blanket out, the seam should sit almost flush with the fabric.
Finishing: Weaving Ends, Blocking, and Care
Weave the tails in rather than knotting them. Thread a tail onto the tapestry needle and run it along the back of a row for a few inches, changing direction once so friction holds it. Knots in bulky yarn work loose and leave hard lumps.
If the blanket looks uneven, mist it lightly with water and lay it flat on a clean sheet, patting the edges into straight lines. Leave it to dry completely before moving it. Care afterwards depends on the fibre, so follow the label; most jumbo yarns prefer a cool hand wash or spot cleaning, and always dry flat. Never hang a chunky blanket over a line while wet, even briefly. The weight will stretch it into a different shape, and it won't come back.
Fixing the Most Common Beginner Problems
- The blanket keeps getting wider. You're adding a stitch at the start of a row. Count your loops every few rows and slip the extra one off.
- Small holes appear. Usually a dropped loop. In yarn this thick, it's easier to unravel the row and reknit it than to patch the hole afterwards.
- The stitches look loose and stretched. Your loops are too big. Work a little tighter, or make the blanket smaller so it holds its shape under its own weight.
- Fluff is everywhere. Normal with chenille and roving. It eases after the first wash or two; a lint roller handles the sofa in the meantime.
Make It Yours
Start with a small square — about two feet across — and treat it as practice rather than a project. You'll learn your own tension, find out whether you like working with the yarn, and end up with a lap blanket or a cushion cover either way. Once garter stitch feels automatic, stripes become easy: change colour at the end of a row and weave the old tail in as you go. A matching pair of chunky cushion covers takes an evening and uses up the leftover skein.
Give yourself one quiet afternoon, a warm drink within reach, and permission to undo a row or two. The blanket that ends up draped over the sofa will be the one you made, and that's most of the appeal.
Photo: Anete Lusina / Pexels